


S-Works Stumpjumper
Part No.: 93322-0104
₩13,900,000
0 리뷰
When we say "The Ultimate Trail Bike," we mean it—the all-new Stumpjumper is everything…
컬러:
SATIN BRUSHED BLACK LIQUID METAL / GLOSS BLACK / BLACK LOGOS
사이즈:
S4
재고 없음
This item is unavailable
재고 없음
This item is unavailable
불가능합니다
해당 상품은 가까운 보유 대리점 찾기가 불가능 합니다
Product Details
When we say "The Ultimate Trail Bike," we mean it—the all-new Stumpjumper is everything you could ever ask for in a trail-ripping steed. Want a bike that climbs with ease? The Stumpjumper delivers, thanks to a ground-up suspension redesign and lightest-in-class frame weight. How about something that's ready to shred when the trail turns downhill? That suspension re-design - paired with new Trail Geometry and the Rider-First Engineered™ frame’s perfect blend of stiffness and light weight - turns the Stumpjumper into an absolute monster descending. Point it where you want to go and let the party begin.
As with all of our S-Works bikes, the S-Works Stumpjumper is dressed to impress. SRAM's XX1 Eagle AXS wireless electronic groupset handles shifting duties while FOX Factory suspension delivers a magic carpet-smooth ride.
스페셜라이즈드는 스텀점퍼 서스펜션의 운동학을 연구하여 130mm 패키지에서 가능한 최고의 올라운드 성능을 이끌어냈습니다. 수많은 시간의 서스펜션 실험실 개발과 현장 테스트를 통해 중력을 먹고 자란 짐승처럼 큰 지형을 먹고, 어디서든 꿈처럼 핸들링하고, 모터가 달린 것처럼 오르는 세련된 미드 트래블 리퍼가 탄생했습니다.
진보적인 지오메트리-새로운 스텀점퍼의 S 사이즈 지오메트리는 진보적인 스윗 스팟에 도달합니다. 길고 낮고 느슨하며 짧은 오프셋 포크와 더 가파른 시트 튜브 각도가 특징입니다. 이러한 수치가 결합되어 더 안정적이고, 더 멋지고, 더 편안하게 클라이밍하며, 어디에서나 더 나은 라이딩을 할 수 있습니다. 플립칩 조절 기능으로 핏을 더욱 세밀하게 조정할 수 있어 어떤 지형에서도 새로운 스텀점퍼가 완벽하게 작동합니다.
RIDER-FIRST ENGINEERED™-라이더 퍼스트 엔지니어드™ 프레임은 프레임이나 라이더의 사이즈에 관계없이 벤치마크 핸들링과 완벽한 성능을 보장하는 사이즈별 접근 방식을 사용하여 라이딩 특성을 구현합니다. S1을 타는 점프에 익숙한 그롬 라이더든, 길이가 긴 S6를 필요로 하는 다운힐 마니아든, 레일의 날카로운 코너링과 균형 잡힌 앞뒤 강성 등 동일한 승차감을 가능한 가장 가벼운 무게로 경험할 수 있으며, 여기서 가볍다는 것은 2,250g(S-Works, S-3 사이즈, 리어샥 포함)의 진짜 가벼움을 뜻합니다.
2016년 스텀점퍼에 SWAT™ 도어를 도입하여 펌프와 여분의 튜브와 같은 “젠장” 필수품을 수납할 수 있는 공간을 프레임에 추가하고 져지 포켓을 불필요하게 만들었습니다.
SWAT™—We introduced the SWAT™ door on the Stumpjumper in 2016, adding room IN your frame for those “oh sh**t” necessities like pumps and spare tubes, and immediately rendering jersey pockets redundant.
기술적 특징
Frameset
프레임
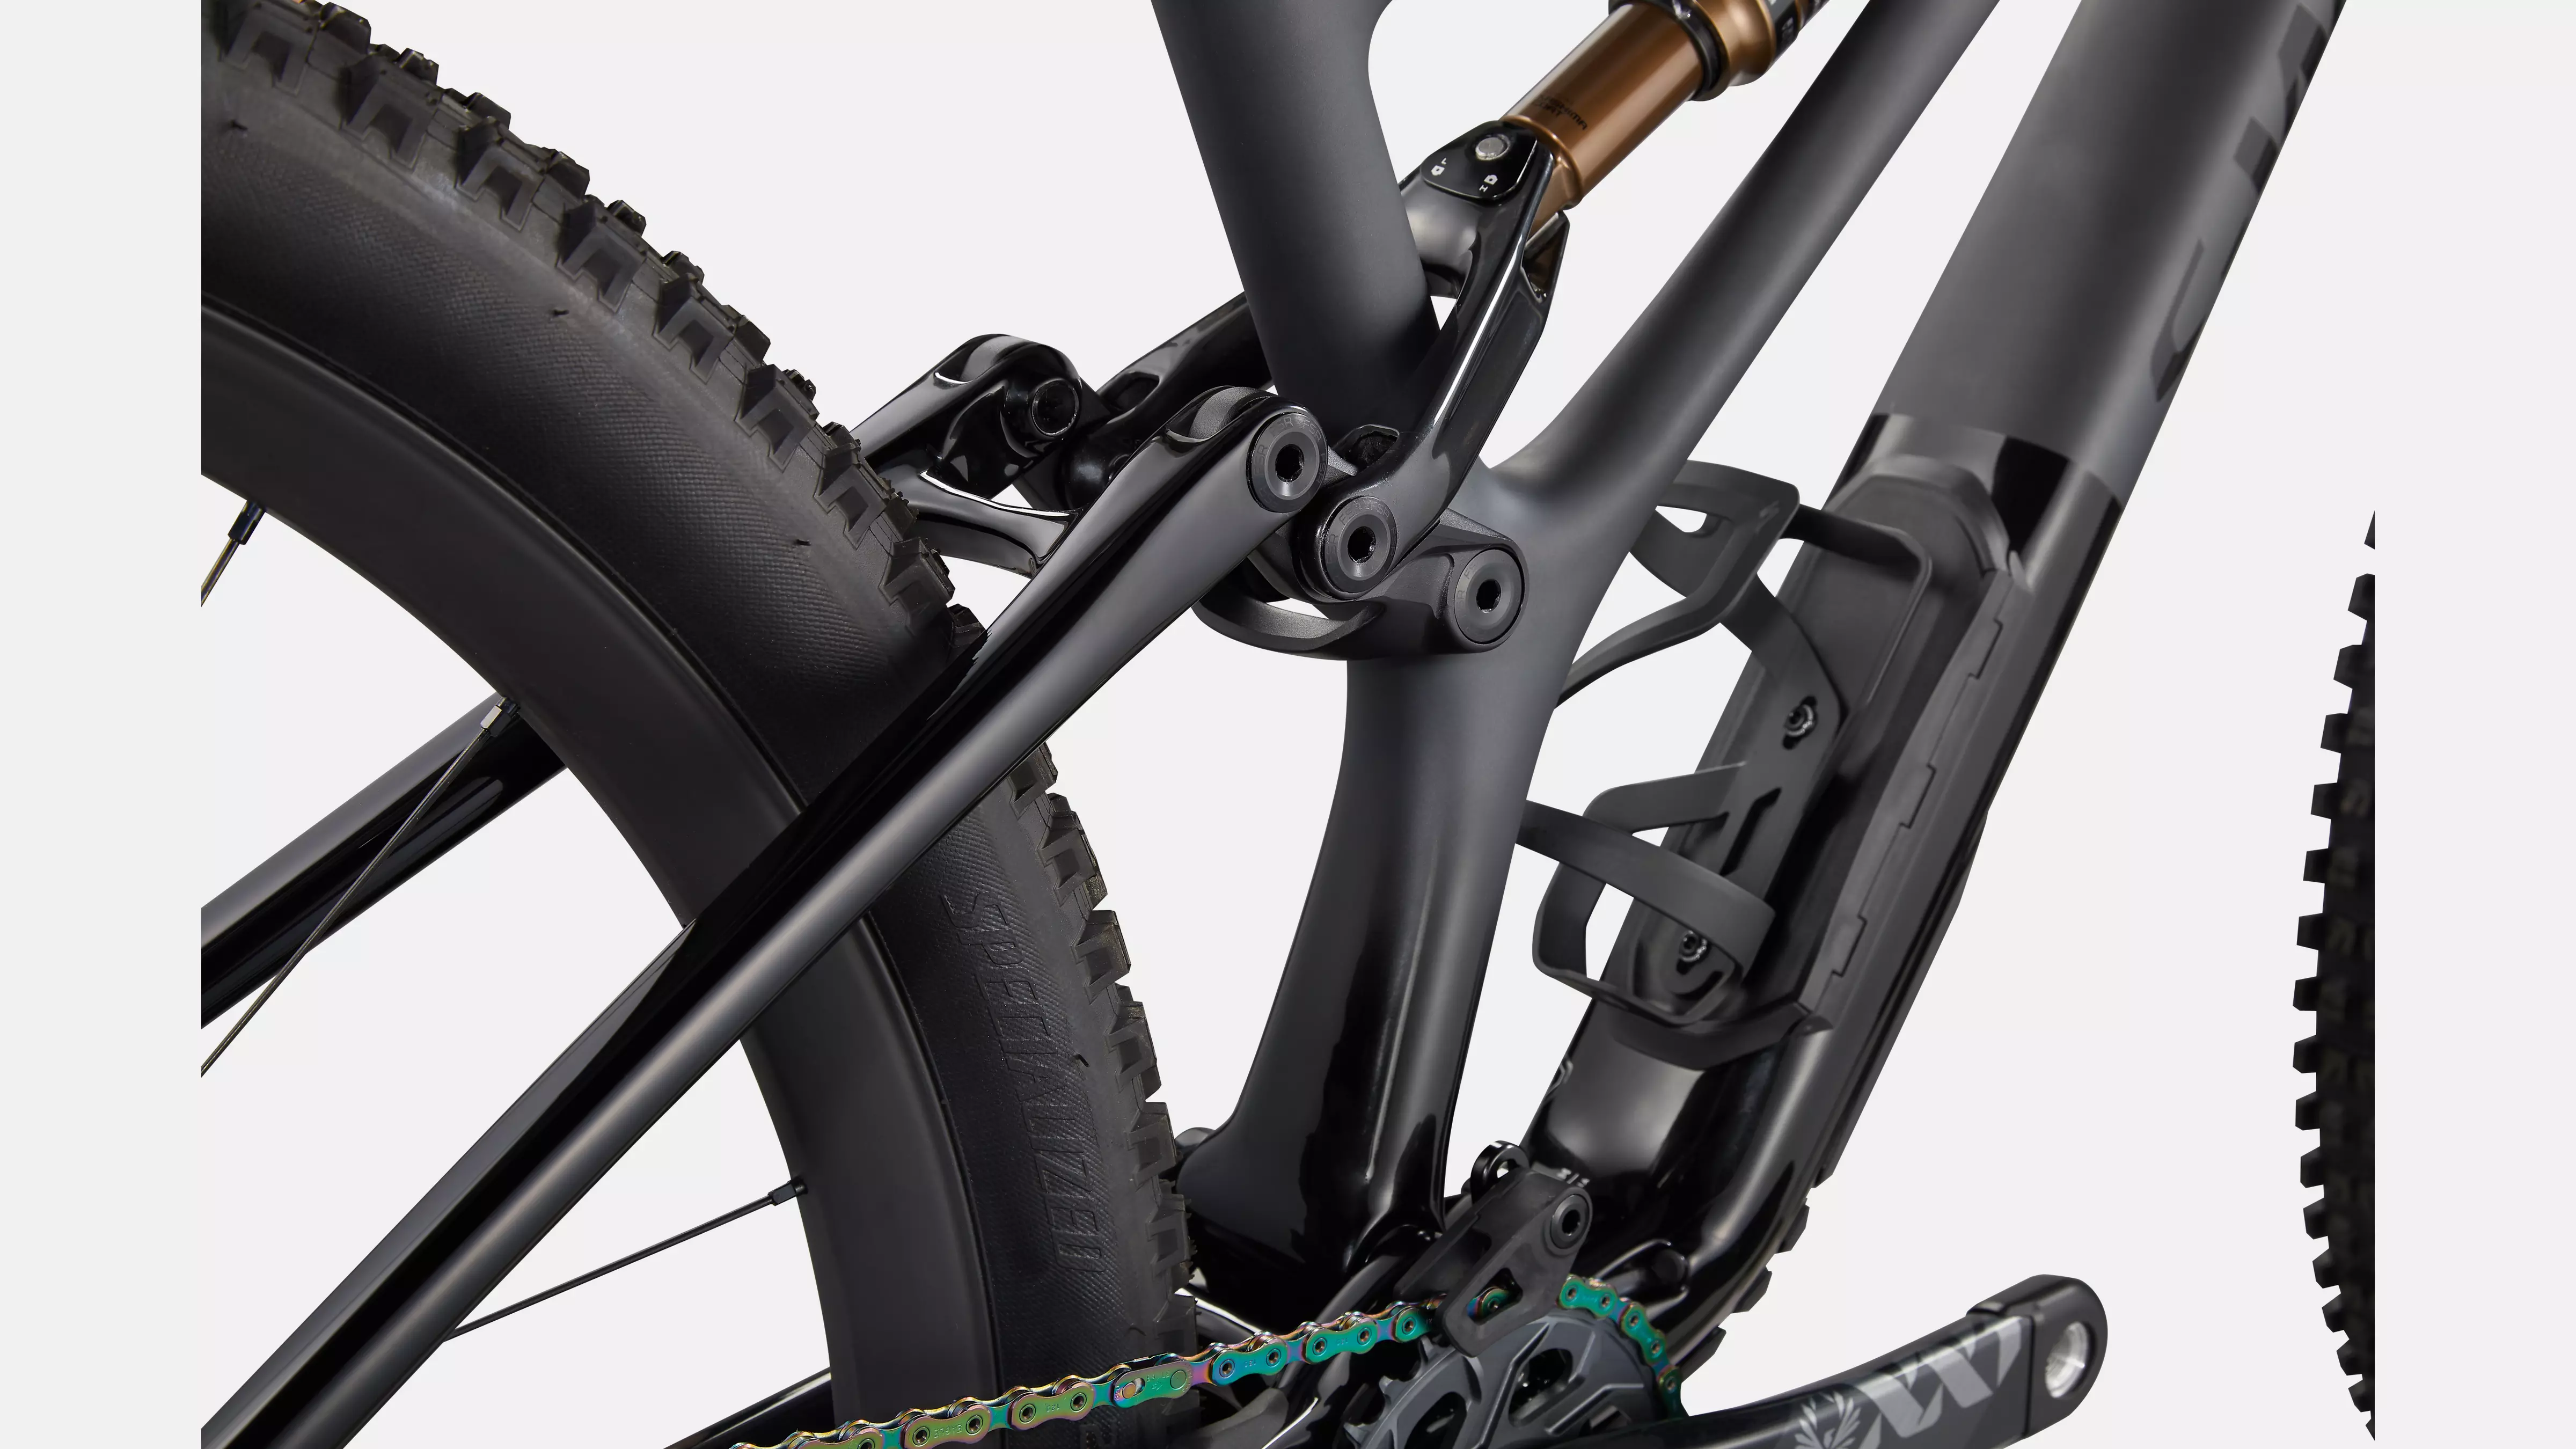
FACT 11m carbon chassis and rear-end, asymmetrical design, 29 Trail Geometry, SWAT™ Door integration, flip chip Head Tube/Bottom Bracket adjustment, threaded BB, fully enclosed internal cable routing, 12x148mm dropouts, sealed cartridge bearing pivots, replaceable derailleur hanger, 130mm of travel
시트 바인더
Alloy, 38.6mm
Suspension
리어 샥
FOX FLOAT DPS Factory, Rx Trail Tune, EVOL Air sleeve, Kashima Coat, 3-position adjustment w/ Open Mode Adjustment, 190x45mm
포크
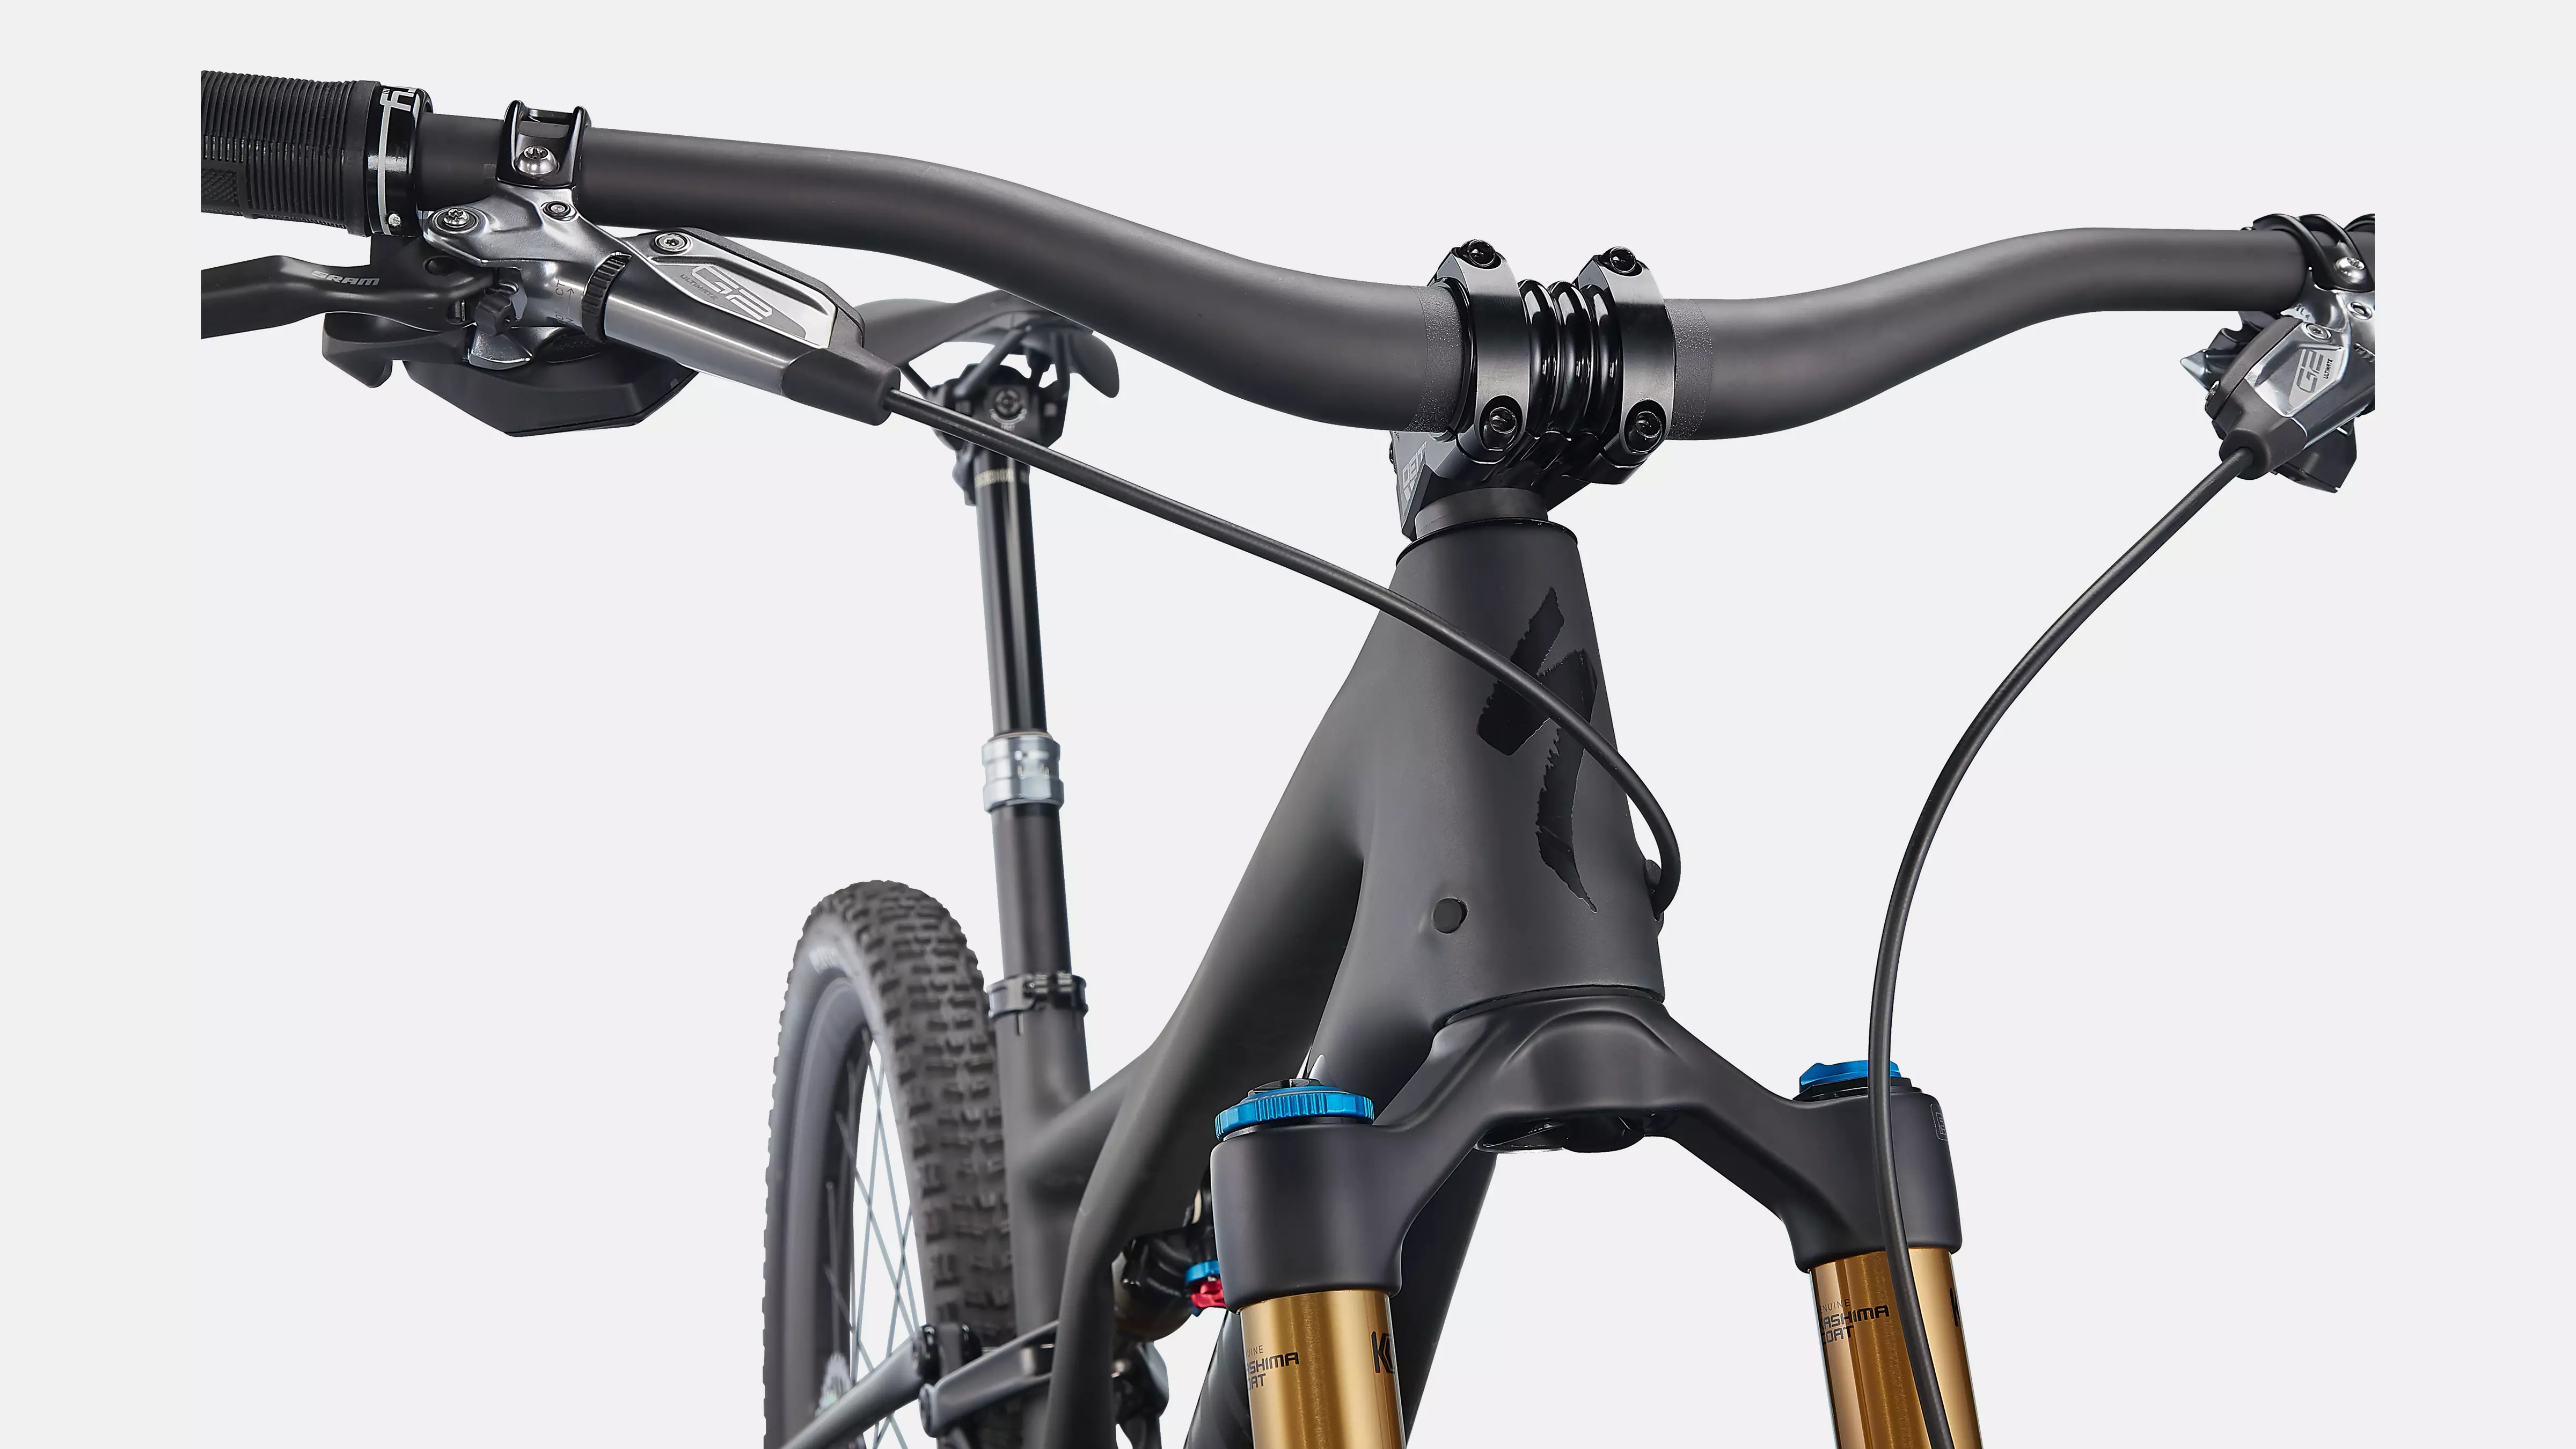
FOX FLOAT 34 Factory, GRIP2 damper, Kashima Coating, 15x110mm, 44mm offset, 140mm of travel
Brakes
앞 브레이크
SRAM G2 Ultimate, 4-piston caliper, hydraulic disc, 200mm
뒤 브레이크
SRAM G2 Ultimate, 4-piston caliper, hydraulic disc, 180mm
Drivetrain
변속 레버
SRAM Eagle AXS Rocker Paddle
뒤 드레일러
SRAM XX1 Eagle AXS
카세트/스프라켓
Sram XG-1299, 12-Speed, 10-52t
체인
SRAM XX1 Eagle
크랭크셋
SRAM XX1 Eagle, DUB, S1:165mm, S2-S5: 170mm, S6: 175mm
체인링
Alloy, 30T
버텀 브라켓
SRAM DUB, BSA 73mm, Threaded
Wheels & Tires
림
Roval Control 240, hookless carbon, 29mm inner width, hand-built, 2Bliss Ready
앞 허브
DT Swiss 240, sealed cartridge bearings, 15x110mm spacing, 28h
뒤 허브
DT Swiss 240, Ratchet EXP, 36t engagement, SRAM XD driver body, 12mm thru-axle, 148mm spacing, 28h
스포크
DT Swiss Competition Race
앞 타이어
Butcher, GRID casing, GRIPTON® T9 compound, 29x2.3"
뒤 타이어
Purgatory, GRID casing, GRIPTON® T7 compound, 29x2.3"
튜브
Standard, Presta Valve
Cockpit
스템
Deity, 35.0mm Bore (S1-S2: 35mm length, S3-S6: 50mm length)
핸들바
Roval Traverse SL Carbon, riser bar, 6-degree upsweep, 8-degree backsweep, 30mm rise, 780mm, 35.0mm
그립
Deity, Knuckleduster, Black
안장
Bridge, 155/143mm, Hollow Ti-rails
시트포스트
RockShox Reverb AXS, 30.9, 1X remote, (S1:100mm, S2: 125mm, S3: 150mm, S4-S6: 170mm)
* 무게는 그림과 같이 도색된 프레임 기준입니다. 색상, 프레임 크기, 구성 요소의 차이에 따라 실제 무게는 달라질 수 있습니다. 사양은 사전 통보 없이 변경될 수 있습니다.
지오메트리
| S1 | S2 | S3 | S4 | S5 | S6 | |
|---|---|---|---|---|---|---|
| Crank Length | 165mm | 170mm | 170mm | 170mm | 170mm | 175mm |
| Handlebar Width | 780mm | 780mm | 780mm | 780mm | 780mm | 780mm |
| Stem Length | 35mm | 35mm | 50mm | 50mm | 50mm | 50mm |
| Saddle Width | 155mm | 155mm | 143mm | 143mm | 143mm | 143mm |
| Seatpost Length | 100mm | 125mm | 150mm | 170mm | 170mm | 170mm |
| Stack (Low BB) | 614mm | 613mm | 622mm | 632mm | 641mm | 650mm |
| Stack (High BB) | 610mm | 609mm | 618mm | 627mm | 636mm | 646mm |
| Reach (Low BB) | 410mm | 430mm | 450mm | 475mm | 500mm | 530mm |
| Reach (High BB) | 415mm | 435mm | 455mm | 480mm | 505mm | 535mm |
| Headtube Length | 95mm | 100mm | 110mm | 120mm | 130mm | 140mm |
| Headtube Angle (Low BB) | 65° | 65° | 65° | 65° | 65° | 65° |
| Headtube Angle (High BB) | 65.5° | 65.5° | 65.5° | 65.5° | 65.5° | 65.5° |
| BB Height (Low BB) | 328mm | 333mm | 333mm | 333mm | 333mm | 333mm |
| BB Height (High BB) | 335mm | 340mm | 340mm | 340mm | 340mm | 340mm |
| BB Drop (Low BB) | 47mm | 42mm | 42mm | 42mm | 42mm | 42mm |
| BB Drop (High BB) | 40mm | 35mm | 35mm | 35mm | 35mm | 35mm |
| Trail (Low BB) | 126mm | 126mm | 126mm | 126mm | 126mm | 126mm |
| Trail (High BB) | 123mm | 123mm | 123mm | 123mm | 123mm | 123mm |
| Fork Length (full) | 550mm | 550mm | 550mm | 550mm | 550mm | 550mm |
| Fork Rake/Offset | 44mm | 44mm | 44mm | 44mm | 44mm | 44mm |
| Front Center | 724mm | 746mm | 770mm | 800mm | 829mm | 863mm |
| Chainstay Length | 432mm | 432mm | 432mm | 432mm | 442mm | 442mm |
| Wheelbase | 1152mm | 1175mm | 1200mm | 1228mm | 1268mm | 1302mm |
| Top-tube Length (horizontal) | 563mm | 583mm | 605mm | 632mm | 660mm | 692mm |
| Bike Standover Height | 730mm | 734mm | 744mm | 749mm | 757mm | 757mm |
| Seat Tube Length | 385mm | 385mm | 405mm | 425mm | 445mm | 465mm |
| Seat Tube Angle (Low BB) | 76° | 76° | 76° | 76° | 76° | 76° |
| Seat Tube Angle (High BB) | 76.5° | 76.5° | 76.5° | 76.5° | 76.5° | 76.5° |
| Max Seatpost Insertion | 220mm | 220mm | 240mm | 260mm | 280mm | 300mm |
| Min Seatpost Insertion | 80mm | 80mm | 80mm | 80mm | 80mm | 80mm |

설명서 다운로드
안전한 사용법 확인
라이더 구매후기
0 리뷰